Week 5 [Fri, Sep 3rd] - Project
iP:
- Add Increment as PR:
Level-6 - Add Increments as parallel branches:
Level-7,A-JavaDoc - Add Increment:
A-Jar
tP:
- Brainstorm user stories before next lecture
iP
1 Add Increment as PR: Level-6
- Create a new branch
branch-Level-6. - Implement the increment in the new branch.
- Push the branch to your fork.
- Create a PR in your fork, from the new branch to the
masterbranch. Steps for creating a PR is given in this textbook topic (steps 5 onwards):
- Merge the PR using GitHub. Note how to merge PRs:
- Pull the
masterbranch from the fork to your local repo.
2 Add Increments as parallel branches: Level-7, A-JavaDoc
- Do Level 7 in a branch named
branch-Level-7. Without merging that branch, go back to themasterbranch and implement the other increment in a separate branch named similar to the first (i.e.,branch-{increment ID}). Now, go back to themasterbranch and merge the two branches one after the other. As before, tag the commit (in themasterbranch, after merging) that achieves the respective deliverable, and push to your fork.
Remember to push the branches to your fork so that the grading script can detect them.
Only merged branches are detected by the script. After merging a branchb1to themasterbranch, you need to push both themasterand theb1branches to the fork. Pushing themasterbranch does not automatically take theb1branch along with it just because it is already merged to themasterbranch.
Advanced git users: do not delete the branch after merging.
Merge without a fast-forward so that git creates a separate commit for the merge.
3 Add Increment: A-Jar
- In case this increment does not require any code changes, you may tag the commit at which this was achieved as
A-Jar(even if that commit has another tag already). - Upload the jar file to your fork as explained in the panel below.
tP: Gather requirements
1 Brainstorm user stories before next lecture
Learn the recipe for brainstorming user stories in the textbook → Specifying Requirements → UserStories → Usage.
Also learn about brainstorming and user stories.Follow the steps in the recipe mentioned above to arrive at user stories for the the product, with your team members.
User stories for what version? At this stage, collect user stories to cover at least the final version you hope to deliver at the end of the semester. It is OK to go even beyond that (reason: we are simulating a project that will continue even after the semester is over).
How many user stories? Aim to collect more user stories than you can deliver in the project. Aim to create at least 30 user stories. Include all 'obvious' ones you can think of but also look for 'non obvious' ones that you think are likely to be missed by other competing products.
User stories of what size? Normally, it is fine to use epic-level user stories in the early stages of a project but given this is a small project, you may want to define smaller user stories (i.e., small enough for one person to implement in 1-2 days).
- Bad As a user, I can track my schedule, so that I can know when to do things.
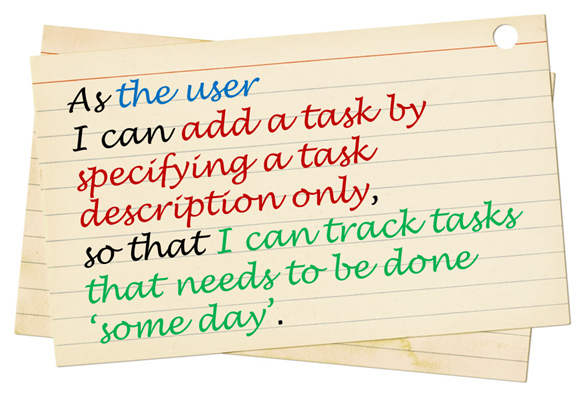
Reason: too big, as track can involve a lot of things. - Good As a user, I can add a time to a task, so that I can record when a task need to be done.
- Good As a user, I can see the pending task that has the next earliest deadline, so that I can know what I need to do next.
- Bad As a user, I can track my schedule, so that I can know when to do things.
What format?: You may use a sentence format or a table format but do maintain the prescribed three-part structure of a user story. In particular, try to include the benefit part in most user stories as that will come in handy when prioritizing user stories later.
How to record?
Keep records of intermediate steps (e.g., persona, scenarios) in your collaborative project document started in the previous week.
You canwrite each user story in a piece of paper (e.g. yellow sticky note, index card, or just pieces of paper about the size of a playing card). Alternatively you canuse an online tool (some examples given in [Textbook Specifying Requirements → UserStories → Usage → (panel) Tool Examples ]).